
Quick 10-Minute No-Bake Halloween Spider Cookies (Best Kids Treat)
Spider cookies are the ultimate combination of spooky and cute! Completely no-bake and whipped up using simple pantry staples, they require zero oven time and come together in minutes. They are the kind of fun, creative treat that instantly gets kids giggling with excitement and leaves parents completely amazed, whispering, ‘Wait, that’s seriously all it took?’ Whether you’re planning a classroom party, a spooky movie night, or just want a quick, playful kitchen project with the little ones, these creepy-crawly cookies are guaranteed to steal the show and disappear off the plate faster than you can say boo!
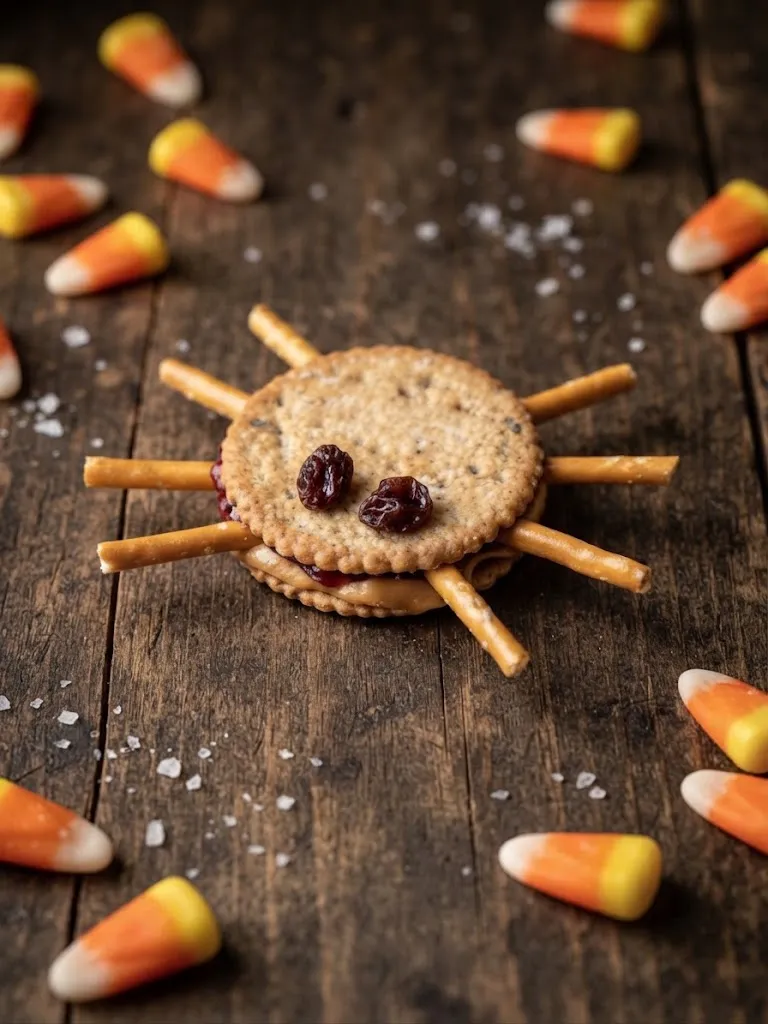
“We look forward to making these every single October! All you need are round cookies or crackers, pretzel sticks for the legs, your favorite creamy filling, and a few chocolate chips or raisins for the eyes. That is literally it. No baking required, zero hassle, and you get a fun, spooky snack that is ideal for school lunchboxes, Halloween parties, or movie marathons.
They are also a wonderful kitchen project for kids to join in on, making it a guaranteed family favorite. Just be prepared for a few pretzel legs to disappear while assembling, because snacking on them mid-project is almost guaranteed!”
Helpful Tips & Variations
- Change the filling: Cream cheese creates a delicious savory treat, while peanut butter, almond butter, or chocolate hazelnut spread give it a sweet dessert flavor.
- Keep it nut-free: Use cream cheese or sunflower seed butter to make them completely safe and allergy-friendly for school events.
- Boost the sweetness: Layer on a bit of frosting, jam, or chocolate spread alongside your main filling for extra richness.
- Customize the eyes: Swap things out by using candy eyes, small dabs of icing, or mini chocolate chips to give them a cute cartoon appearance.
- Get ahead on prep: Assemble your spider treats a day in advance and keep them stored in a sealed container in the refrigerator, just remember to add the eyes right before serving to keep them looking fresh.
- Experiment with the legs: While pretzel sticks are traditional, you can easily switch things up by using thin licorice ropes or cut fruit strips instead.
How to Make Halloween Spider Cookies
Prepare the base
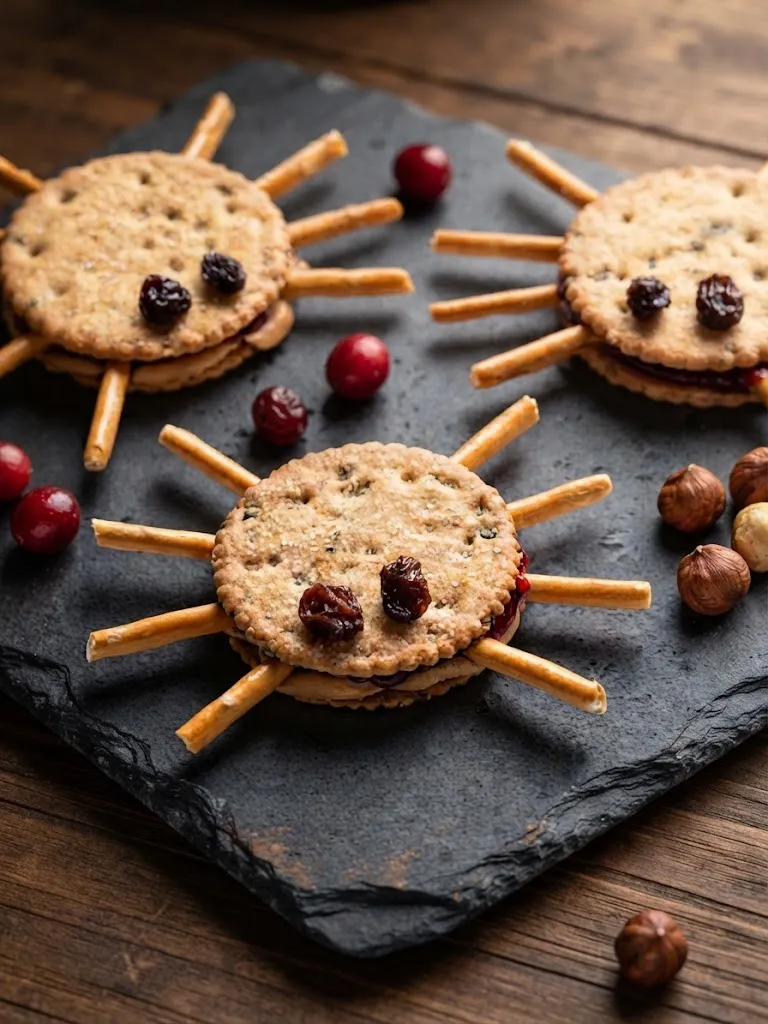
Spread cream cheese, nut butter, or your chosen filling onto 12 crackers/cookies. Add a thin layer of jam or chocolate spread on top if you like extra flavor.
Add the legs
Place 4 pretzel sticks on each side of the cracker to form spooky spider legs.
Assemble the spiders
Top with another cracker/cookie to create a sandwich, pressing gently so the filling holds the legs securely in place.
Add the eyes
Dab a tiny bit of filling on top of each spider and press two raisins or chocolate chips into place for eyes.
Serve
Arrange your creepy-cute spiders on a festive platter and watch them disappear instantly at your Halloween gathering!
How to Store
- Refrigerator: Keep your assembled spiders fresh by storing them inside an airtight container in the fridge for up to 2 days.
- Add eyes later: For the best presentation, pop the raisin or chocolate chip eyes on right before you serve them!
- Avoid soggy legs: If you are preparing them ahead of time, keep the crackers and pretzel sticks stored separately, then put them together on party day so the pretzels stay crunchy.
Serving Ideas
- Halloween party platter: Set up the spiders on a large tray surrounded by mini pumpkins, candy corn, and other spooky treats to make a fun centerpiece.
- Lunchbox surprise: Slip one into your kid’s school lunchbox for a playful and fun Halloween surprise!
- Movie night snack: Serve them alongside fruit, pretzels, and popcorn for a themed movie marathon night.
- Pair with sweet dips: If you made the sweet version, serve your spiders with fruit preserves, caramel dip, or chocolate sauce.
- Mix sweet and savory: Offer a mix of both savory cream cheese spiders and sweet chocolate spread spiders on your platter to give guests options.
Serving Ideas
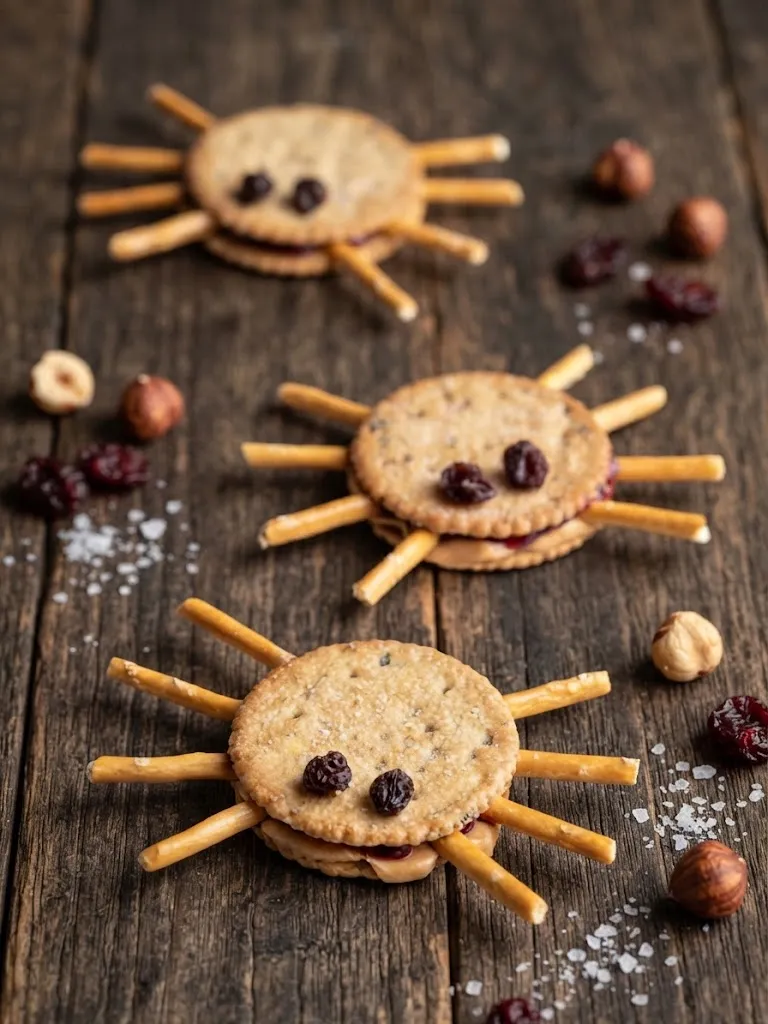
- Halloween party platter: Arrange the spiders on a big tray with candy corn, mini pumpkins, and other spooky snacks for a centerpiece treat.
- Lunchbox surprise: Pop one into a kid’s lunchbox for a FUN Halloween surprise!
- Movie night snack: Serve with popcorn, pretzels, and fruit for a themed movie night.
- Pair with sweet dips: If you make a sweeter version, serve alongside chocolate sauce, caramel dip, or fruit preserves.
- Mix sweet and savory: Create a platter with both cream cheese spiders (savory) and chocolate spread spiders (sweet) for variety.
- Spooky dessert board: Pair them with ghost-shaped marshmallows and gummy worms to make an ultimate Halloween snack board for guests!
Frequently Asked Questions
Yes, you can assemble them up to 2 days in advance. Store them in an airtight container in the fridge, but add the raisin or chocolate chip eyes right before serving to keep them looking fresh.
If you want the absolute crunchiest pretzels, store the components separately and assemble the spiders on the day of your party or event.
They can easily be made nut-free by using cream cheese or sunflower seed butter instead of peanut butter or almond butter, making them safe for school parties.
Round crackers like Ritz, digestive biscuits, or oatmeal cookies work wonderfully as they provide a flat, sturdy base for the spider sandwiches.
Absolutely! This is a fantastic, no-bake kitchen activity for kids. They will love pressing on the pretzel legs and sticking on the raisin or chocolate chip eyes.